I started with two pieces of inch-thick memory foam that cost $4.98 apiece. Each measured 36" by 18", so I cut mine in half.


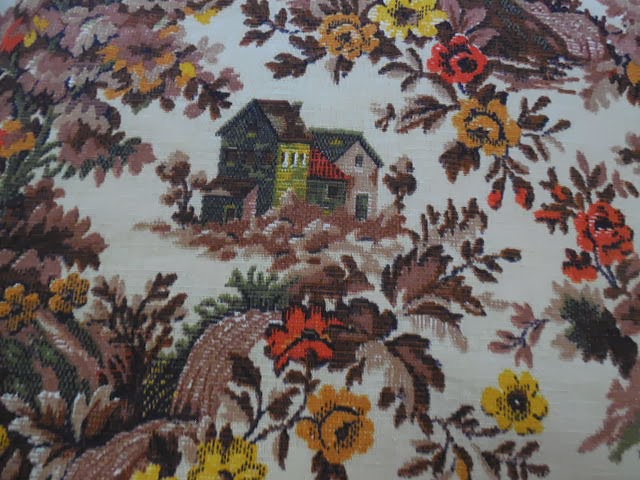
Selecting the fabric took a deal of considering. I wanted something fairly sturdy with an attractive print. I ultimately chose these curtain/upholstery fabric remnants I'd acquired from a thrift store: $1.39.

 |
| It's kind of hard to see here, but along the left side I left a flap so I can remove the cover when necessary. |
I did put slightly more effort into the outer covers since they'll be the ones getting laundered the most often and I don't want any raw edges fraying. Even so, measuring, ironing, and pinning the covers took longer than the actual sewing. These are easy-peasy; no mitered corners or any special fitting was done other than sewing them up snugly to fit the pads. This shows the bottom side with its nifty little fold-over closure flap.

The finished beds:

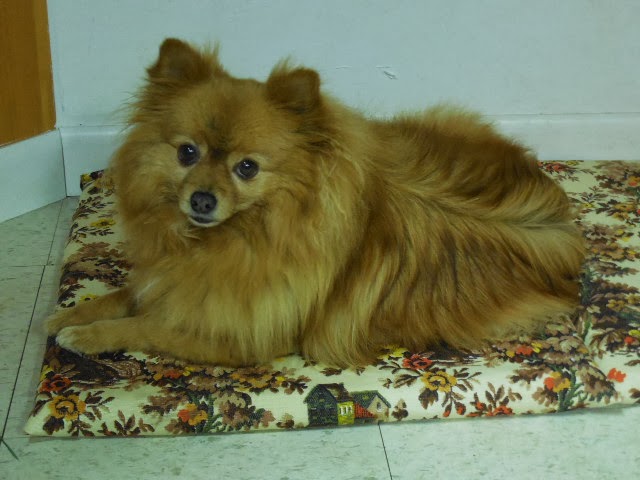
And here's Peppy making use of his!
These are light and supportive, very comfortable for the joints if yours is an older or arthritic pet.
I'm still thinking of some way of adding a cylindrical chin rest or some kind of bolster to the design. I tried cutting the arms off a sweater, sewing them together, and stuffing them with fiberfil, but I'm not satisfied with the result--it looks too much like a fat snake that's recently devoured an unlucky victim, so I'm going to dismantle it!

 |
| Bolster attempt #1--and it looks like #2. |
Now for some quick instructions on the method for making one of these easy fold-over covers. I'll use a sheet of paper to demonstrate. You use a rectangular piece of fabric, though!
 |
| Pretend this is my fabric on the right side. |
 | |
| And this is the wrong side. |
 |
 | |
| Fold over each end, iron it down, and stitch it down in however finished a manner you desire. (With my inner PUL lining, I didn't finish the ends at all.) The pink lines represent stitching. |
Next, fold one end over a few inches, like this:

And the opposite side overlapping the narrow end by a couple of inches, like this:

Naturally you want to double-check and make sure your pad will fit inside.


Believe me, it takes longer to write about how to make it than it takes to make it, and it's so easy, a child could do it. Sew it by hand, even.
As for measurements, that will depend, of course, upon the size of your dog and the size pad you decide use. The fabric length should be double the size of your pad plus 2x the thickness, with about 8 or 10 more inches for finishing and flaps. Width need only be the actual width of your pad plus 2x the thickness, plus an extra inch or inch and a half for the seam allowance.
Play around with it; you don't have to be exact. Let's face it--it's going to be covered with dog hair shortly anyway!
Peppy looks so happy!
ReplyDelete