Those of you who follow this blog know I am a wannabe, not an artisan, but as a recovering perfectionist I occasionally cut myself some slack and allow myself to exhibit my flawed (though hopefully well-disguised) work.
Today, I can show you a purse.
I began this project last summer, when I discovered the most beautiful brocade fabric at JoAnn's and purchased half a yard. I cut out some pieces with my trusty pattern, and then stalled.
There are two challenges to making purses, I find. One is gritting my teeth and sewing the lining. I hate making linings. Purses seem to need handy pockets and compartments inside, and it's dreary in the extreme trying to come up with some that work and aren't off-kilter and bumpy-looking.
The other bit is scary--fitting the cloth body into the metal frame. Or at least, I find it so, because I have very shaky hands and nerves of soggy custard. When I manage it, it's great, but when I don't... That's a lot of work down the tubes.
I have jettisoned purses that were nearly completed because of screw-ups in both these areas.
I learned to make purses from the Lisa Lam blog, uhandbag.com
which has free tutorial downloads for making a basic bag with a metal frame:
 | |||
| This purse was one of my happy successes. Thank you, Lisa Lam! |
Anyway, back to those lining compartments. Recently I saw a photo on the aforementioned blog that utilized elasticized pockets, and I thought it looked like perfect solution to fussing with little pleated patch pockets and the like. So, without actually searching for instructions, I forged ahead. Everything was looking promising, until I went to insert the cloth bag into the frame. Suddenly it was apparent that I had carried the elastic too far into the seam allowance, and there was no way it was going to be crammed into that narrow frame slot. Boo! Hiss! So the bag sat around for several more weeks while I alternated between pondering solutions and hoping that if I ignored it long enough, it would just go away.
Finally I found some plastic handles in a color that would compliment the fabric, and be easy to work with, from an Etsy shop called KingsKountry, and I again set out to finish this purse:
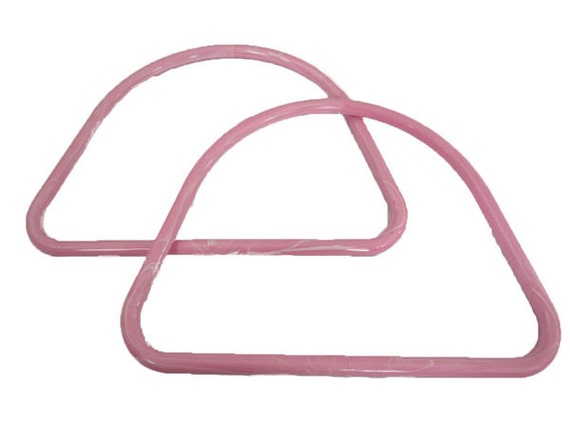 |
| www.etsy.com/listing/163829641/vintage-plastic-10-d-hand-bag-purse |
Please do check out KingsKountry's Etsy shop!
And here's where it was last night, after I finished making and attaching the handles by means of some ruched (or is it gathered?) little fabric doohickeys:


(The handles are a little larger than I find ideal for the size of the bag, but I was so glad to find these, I can live with the slight disproportion!)
Let me show you the elasticized pockets:
 |
| A bit bunchy, but so much easier to do I know I'll try them again. |
 | |
| In spite of other bungles, I am quite pleased with the mitered corners, which came out perfectly matched for a change! |

The instructions look simple enough. Cut out a circle of fabric, stretch it over the metal button thingy, and pop the base on.

Not!!!!!!! At least, not with brocade fabric, which frays like mad! So I cut out a larger circle, had slightly more success, but basically, this idea was a no-go. (I'll try it again, though, with a more suitable fabric.)

Which is fine, because I actually like the white and gold button better! On it went.

And with some stretchy gold cord to loop over the button, I now have quite a pretty purse, despite the glitches and imperfections.

Looks like they turned out well! That is very pretty brocade fabric! I crocheted a purse once, and lined it... it turned out OK but I really had to fiddle with the lining and then the two sides of the snap didn't quite line up right so it's just a tad wonky. Oh well!
ReplyDeleteThanks for stopping by my blog and leaving your sweet comment -- I love it when someone buys something and then tells me the "story" -- I've even received photos from customers in my crochet shop -- that's really fun!